

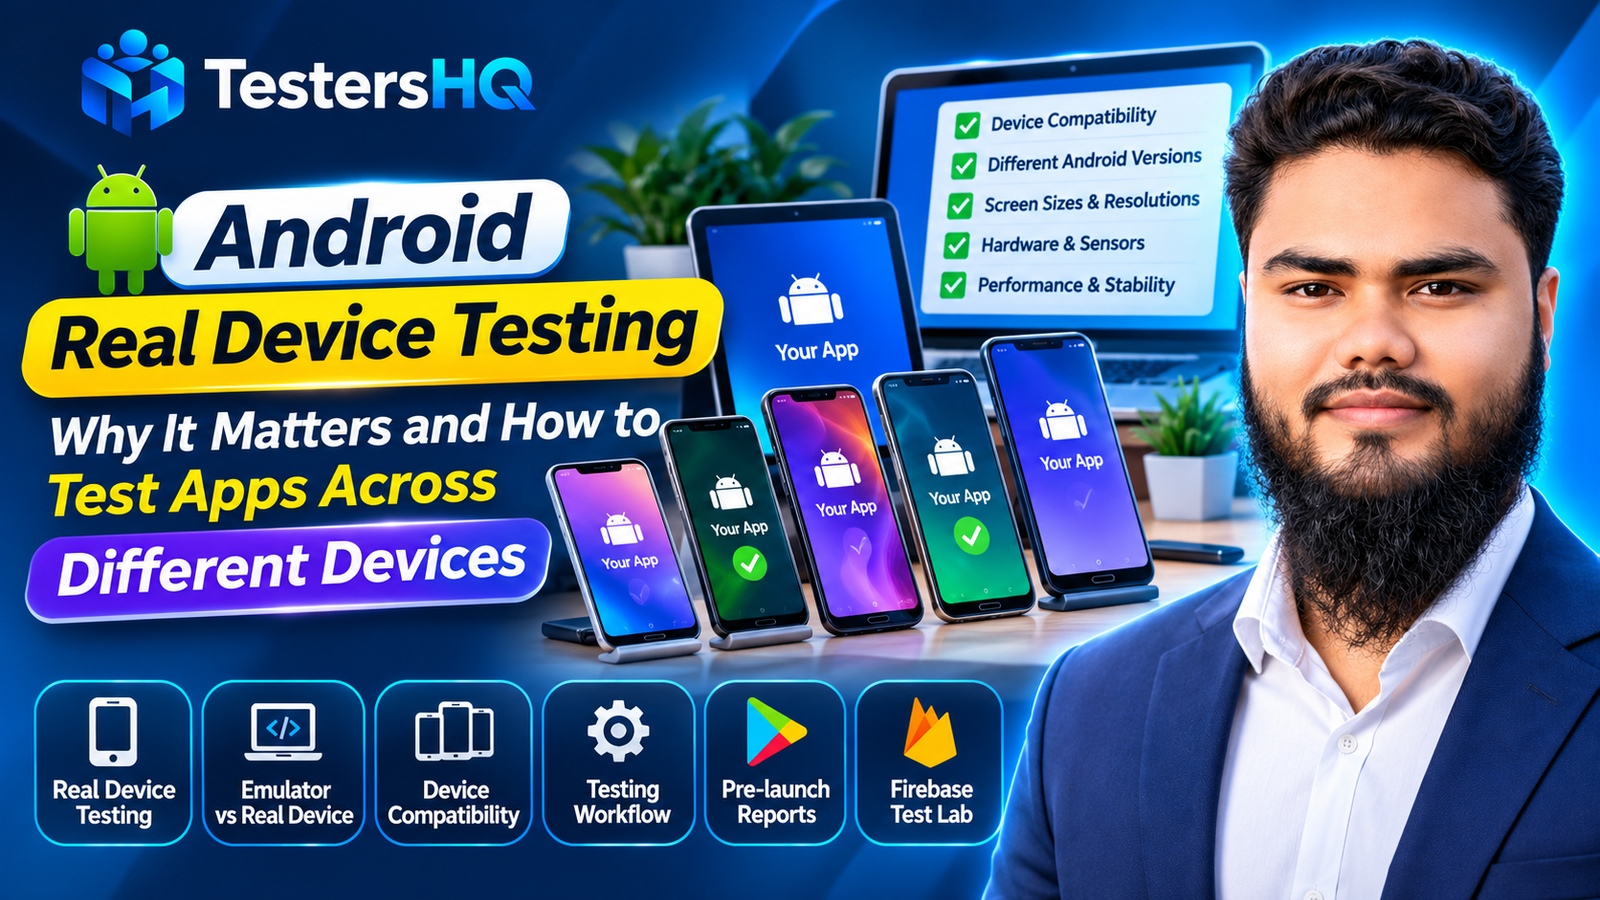
Technical details are checked against current Android, Google Play, and Firebase documentation. Tool options and device catalogues change; verify current behaviour in your environment.
Android runs on thousands of device models across many manufacturers, versions, screen sizes, and price points. Two phones can run the same APK and behave differently: one shows a truncated layout, another kills a background service, a third handles a camera intent your emulator never reproduced.
Testing on a single handset hides those differences. This guide explains real device testing, how it complements emulator and cloud testing, what to check, and how to record results you can act on.
What is Android real device testing?
Real device testing means installing and running an app on physical Android hardware to evaluate how it behaves in a real device environment. The app runs on the manufacturer's firmware, with the actual display, memory, sensors, radios, and battery behaviour of that device.
Android's documentation advises testing on a real device before release. Physical hardware reveals what simulations hide: slow storage, aggressive background limits, camera quirks, or clipped text at large font sizes.
Typical device-dependent problems include:
- A layout that fits a tall phone but overlaps on a small screen or in landscape.
- A feature that works on Wi-Fi and fails on a slow mobile connection.
- An app killed in the background by one manufacturer's power management.
- Camera, Bluetooth, GPS, or biometric flows that behave differently from the emulator.
Real device testing vs Android Emulator testing
The Android Emulator is not a lesser tool; it is the faster way to test Android versions and repeatable scenarios. Physical devices answer a different question: what happens on this exact hardware and network.
| Dimension | Physical device | Android Emulator |
|---|---|---|
| Hardware | Real CPU, GPU, storage, memory, and thermal behaviour | Simulated hardware on the host machine |
| OS configuration | Manufacturer firmware and system customisations | Clean Android system images across API levels |
| Screen configuration | Fixed per device; rotation and fold states vary by model | Configurable size, density, orientation, and fold posture |
| Sensors | Real accelerometer, gyroscope, proximity, and light sensors | Virtual sensors with adjustable values |
| Camera | Real camera hardware and manufacturer camera pipelines | Simulated camera feed and virtual scene |
| GPS | Real location signals, accuracy, and indoor behaviour | Mock routes and fixed coordinates |
| Network behaviour | Real carrier, Wi-Fi, handover, and signal conditions | Configurable speed and latency; still host-dependent |
| Performance | True device performance, including slow storage and thermal throttling | Useful for relative checks, not hardware benchmarking |
| Repeatability | Harder to reset; state and battery level vary | Easy to recreate scenarios and reset state |
| Cost and scale | Device purchase, maintenance, and manual effort | Low marginal cost and easy to scale across configurations |
Use emulators for daily development, API checks, and automated tests. Use physical devices for hardware integrations, real networks, low-end performance, and release confidence. Many teams add a cloud service for breadth.
Why real device testing matters for Android apps
1. Different Android versions
Permission models, background limits, notifications, and privacy controls change across releases. An app targeting a recent API level still runs on older versions, each enforcing different rules. Test your oldest supported version and one current release.
2. Different screen sizes and resolutions
Layouts must survive phones, tablets, and foldables. Text scaling, cutouts, multi-window, and rotation cause clipped labels, overlaps, and lost state. Android recommends checking visual attributes and state restoration across window sizes.
3. Device manufacturer differences
Manufacturers customise Android with their own launchers, camera apps, permission prompts, and power rules. They alter intent resolution, background survival, and notification appearance. A build passing on one flagship can fail on another vendor's mid-range phone.
4. Performance and memory limitations
Low-end devices expose what fast hardware hides: slow cold starts, janky scrolling, memory pressure, and killed background processes. Test with realistic data volumes as storage fills or RAM drops. A flagship's performance is not evidence for the wider market.
5. Network and connectivity conditions
Real networks drop, switch between Wi-Fi and mobile data, and slow under load. Test timeouts, retries, queued uploads, and live-connection screens. Airplane mode and weak signals reveal whether the app fails gracefully.
6. Hardware features and sensors
Camera, GPS, Bluetooth, NFC, biometrics, and sensors differ across devices. Test the flows you use: capture and upload, location accuracy, pairing, authentication, and fallback when hardware is unavailable.
7. Permissions and background behaviour
Runtime prompts, denial states, notification channels, and background restrictions vary by version and manufacturer. Verify the app explains access, survives denial, and preserves critical work in the background.
What should developers test on real Android devices?
Not every category applies to every app; use this as a coverage plan, not a mandatory checklist.
- Installation and app launch: fresh install, upgrade, cold start, and first-run experience.
- Registration and login: sign-up, sign-in, password reset, session expiry, account switching.
- Main user journeys: the tasks that define the product, completed end to end.
- Navigation and UI interactions: back gesture, deep links, dialogs, keyboard behaviour, long-press actions.
- Screen rotation and orientation: state preservation, layout changes, and multi-window resizing.
- Push notifications: delivery, channels, tap behaviour, foreground and background display.
- Camera and media access: capture, gallery, permissions, large files, interrupted capture.
- Location and GPS: permission states, accuracy, disabled location, unavailable signals.
- Internet connectivity: slow links, timeouts, retries, Wi-Fi and mobile handover.
- Offline and recovery behaviour: queued actions, cached content, conflicts, data restored after relaunch.
- Battery and performance: startup time, scrolling, memory growth, heat under sustained use.
- Background and foreground behaviour: resume state, process death, and long-running work.
- App updates and data persistence: upgrading over an older version without losing accounts or local data.
- Accessibility and usability: large text, screen readers, touch targets, contrast, keyboard navigation.
How to choose the right devices for testing
No universal device count makes an app "tested", and Google publishes no required physical-device number. Choose coverage based on your audience and product risks.
- Target audience: match devices, price tiers, and regions where users are.
- Supported Android versions: include the oldest version you support and a current release.
- Usage analytics: prioritise models and OS versions in your data.
- Manufacturer families: cover major vendors in your market, not one brand.
- Low-resource devices: include a modest phone to expose performance limits.
- Screen sizes: cover a small phone, a large phone, and a tablet if supported.
- Hardware features: include the camera, biometrics, or sensors your app uses.
Start with a small, deliberate matrix and expand where risk is highest. Focused coverage beats a long list you cannot maintain.
How to perform Android real device testing step by step
Step 1. Define testing objectives
List the workflows that matter, the device traits that could affect them, and the risks to reduce. A written objective — “verify checkout on a low-end phone with a flaky connection” — beats “test the app”.
Step 2. Prepare physical Android devices
Enable developer options and USB debugging, install any OEM USB driver, and authorise the workstation. Connect over USB, or use wireless debugging on Android 11+ with a paired device. Confirm it appears in `adb devices`.
Step 3. Install the correct app build
Record the version name and code, then install the exact build under test. Check that testers are not running a stale install from another track, and use the same signing configuration as your users where possible.
Step 4. Test core features
Run primary journeys end to end with realistic data. Check that actions complete, state persists, and errors are understandable. For account flows, test a new account and one with history.
Step 5. Test different device configurations
Repeat high-risk journeys across screen sizes, OS versions, and relevant hardware. Rotate, resize in multi-window, change font size, and switch themes if supported. Note the exact device and configuration for each observation.
Step 6. Check network and hardware behaviour
Test Wi-Fi, mobile data, airplane mode, and an interrupted connection. Exercise camera, location, Bluetooth, and biometrics where relevant. Denied permissions and disabled hardware should produce a usable fallback, not a crash.
Step 7. Record bugs and unexpected behaviour
Capture device, Android version, app version, steps, expected and actual results, frequency, and a screenshot. A report another person can reproduce beats “it doesn't work”.
Step 8. Fix issues and retest
Fix confirmed issues, release a new build, and retest on the affected devices. Add a regression check so the defect does not return unnoticed, and close the issue only after verification.
Step 9. Review overall compatibility
Summarise devices and configurations covered, fixes, open issues, and remaining risk. This record supports release decisions and gives future testing a starting point.
Using Google Play Pre-launch Reports
Google Play Pre-launch Reports are generated automatically when you upload an app bundle or APK, subject to capacity, and surface stability, compatibility, performance, and accessibility issues.
Findings are grouped into errors, warnings, and minor issues, including crashes, unsupported APIs, slow startup, memory problems, low contrast, and small touch targets. Reports can include devices, stack traces, screenshots, videos, and device details.
Treat the report as triage, not proof of quality. Google cannot guarantee it finds every issue, and the crawler performs basic interactions rather than completing complex journeys. Automated results still need human review.
Using Firebase Test Lab for Android device testing
Firebase Test Lab runs your app on devices hosted in a Google data center, including physical and Android virtual devices.
Define a test matrix by device model, Android version, orientation, and locale. Test Lab runs each combination and supports instrumentation tests, Robo tests, and game loops.
Results can include logs, stack traces, screenshots, videos, an activity map for Robo tests, and performance metrics on supported physical devices. Run from the console, Android Studio, gcloud, or the Testing API.
Two limits matter: device availability and capacity vary, and the console shows capacity levels and reduced-stability indicators. Test Lab is not intended for backend load testing.
Common Android real device testing mistakes
- Testing only on your own phone. One flagship hides low-end, older, and vendor behaviour.
- Ignoring older Android versions. Users on the oldest supported release still need a working app.
- Ignoring low-resource devices. Fast hardware masks startup, memory, and storage problems.
- Skipping landscape or screen-size checks. Rotation, multi-window, and tablets expose layout and state bugs.
- Not testing network interruptions. Real connections drop; only the happy path is tested too often.
- Ignoring manufacturer-specific issues. Background limits and custom firmware vary by vendor.
- Failing to record device information. A bug without a model, OS version, and build is hard to reproduce.
- Not retesting after fixes. An unverified fix is a hope, not a resolution.
- Depending entirely on automated testing. Crawlers and scripts do not judge usability or complete every journey.
- Assuming one successful device test proves universal compatibility. Coverage is evidence, not a guarantee.
Android real device testing checklist
- Installation and startup: fresh and upgrade install, cold start, first run, crash-free launch.
- Functional testing: account flows, core journeys, error states, and data persistence.
- UI and screen compatibility: rotation, multi-window, small and large screens, font scaling, dark theme, and cutouts.
- OS and device compatibility: oldest supported version, current release, major manufacturers, and low-end hardware.
- Hardware and permissions: camera, location, Bluetooth, biometrics, denial states, and disabled hardware.
- Network and offline behaviour: slow links, timeouts, Wi-Fi handover, airplane mode, recovery.
- Performance and stability: startup, scrolling, memory pressure, battery, heat, process death.
- Bug reporting and retesting: reproducible steps, device details, severity, fix status, and verification on the affected device.
Example device testing report
The template is illustrative; adapt it to your tracker.
| Field | Example entry |
|---|---|
| App name | Example app |
| App version / version code | 2.4.1 / 2410 |
| Device manufacturer / model | Samsung / Galaxy A-series |
| Android version | Android 13 (API 33) |
| Screen resolution | 1080 × 2340 (if known) |
| Feature tested | Checkout with saved card |
| Steps to reproduce | 1. Sign in. 2. Add item. 3. Open cart. 4. Tap Pay. |
| Expected result | Payment sheet opens with saved card |
| Actual result | Sheet opens empty; app freezes for 5 seconds |
| Issue severity | Major — blocks a core journey |
| Screenshot or recording | Screen recording attached |
| Reproducibility | 3 of 5 attempts |
| Testing date | Date of the test run |
Frequently asked questions
What is real device testing in Android?
Installing and running an app on physical Android hardware to evaluate behaviour on real firmware, hardware, and network conditions.
Is real device testing better than emulator testing?
Neither is universally better. Emulators are faster for repeatable configuration checks; physical devices reveal hardware, firmware, performance, and real-network issues. Use both.
Why should developers test Android apps on multiple devices?
Devices vary in OS version, manufacturer software, screen size, memory, sensors, and network behaviour. One device cannot represent that range.
Can Android emulators replace physical devices?
No. Emulators simulate hardware and firmware; they do not reproduce a specific phone's camera, sensors, thermal behaviour, and vendor customisations.
What types of bugs can real-device testing reveal?
Layout and text-scaling problems, permission and notification differences, firmware-specific crashes, low-end performance issues, camera or sensor failures, and network handover bugs.
How many Android devices should developers test on?
There is no universal number, and Google publishes no required physical-device count. Base coverage on audience, OS versions, manufacturers, screen sizes, and product risk.
What is Google Play Pre-launch Report?
An automatically generated report that runs your app on test devices and flags stability, compatibility, performance, and accessibility issues, with logs and screenshots.
What is Firebase Test Lab?
A cloud service that runs Android tests on physical and virtual devices in a Google data center, using a matrix of models, OS versions, orientations, and locales.
Can Firebase Test Lab test Android apps on physical devices?
Yes. Test Lab offers physical and Android virtual devices. Availability and capacity vary, and the console shows capacity levels and reduced-stability indicators.
Does Google Play require real-device testing for production access?
Google's closed-testing rule for certain personal accounts concerns 12 testers opted in for 14 days, not a physical-device count. See the closed-testing requirement guide.
Should developers test on older Android versions?
Yes, at least the oldest version you support. Older releases differ in permissions, background limits, and APIs, and those users still need a working app.
When should developers perform real-device testing?
During development for hardware-dependent features, before each release, and as final verification after automated and emulator testing. Retest fixes on affected devices.
Official references
Technical claims in this article are based on these sources. If a page disagrees with this article, the official page wins.
- Run apps on a hardware device — physical-device setup, USB and wireless debugging
- Test different screen and window sizes — visual attributes, state restoration, foldables, configuration changes
- Fundamentals of testing on Android — functional, performance, accessibility, compatibility testing
- Use a pre-launch report to identify issues — automated testing and limitations
- Understand your pre-launch report — issue categories, device details, screenshots, videos, metrics
- Firebase Test Lab — cloud device testing and test types
- Available testing devices — device catalogue, capacity, stability
- Analyze Test Lab results — test matrices, logs, screenshots, videos, metrics
Conclusion: combine devices, emulators, automation, and structured QA
Real-device testing is one layer of a balanced strategy. Emulators give speed and repeatability, physical devices show real hardware and firmware behaviour, cloud services extend coverage, and automated tests protect verified workflows.
Choose devices deliberately, test the journeys that matter, record reproducible detail, and retest fixes. No approach guarantees every device, but a structured combination catches more issues before users do.
Looking for reliable Android app testing support? Explore TestersHQ to learn more about real-device testing, tester feedback, and developer-focused testing services.