

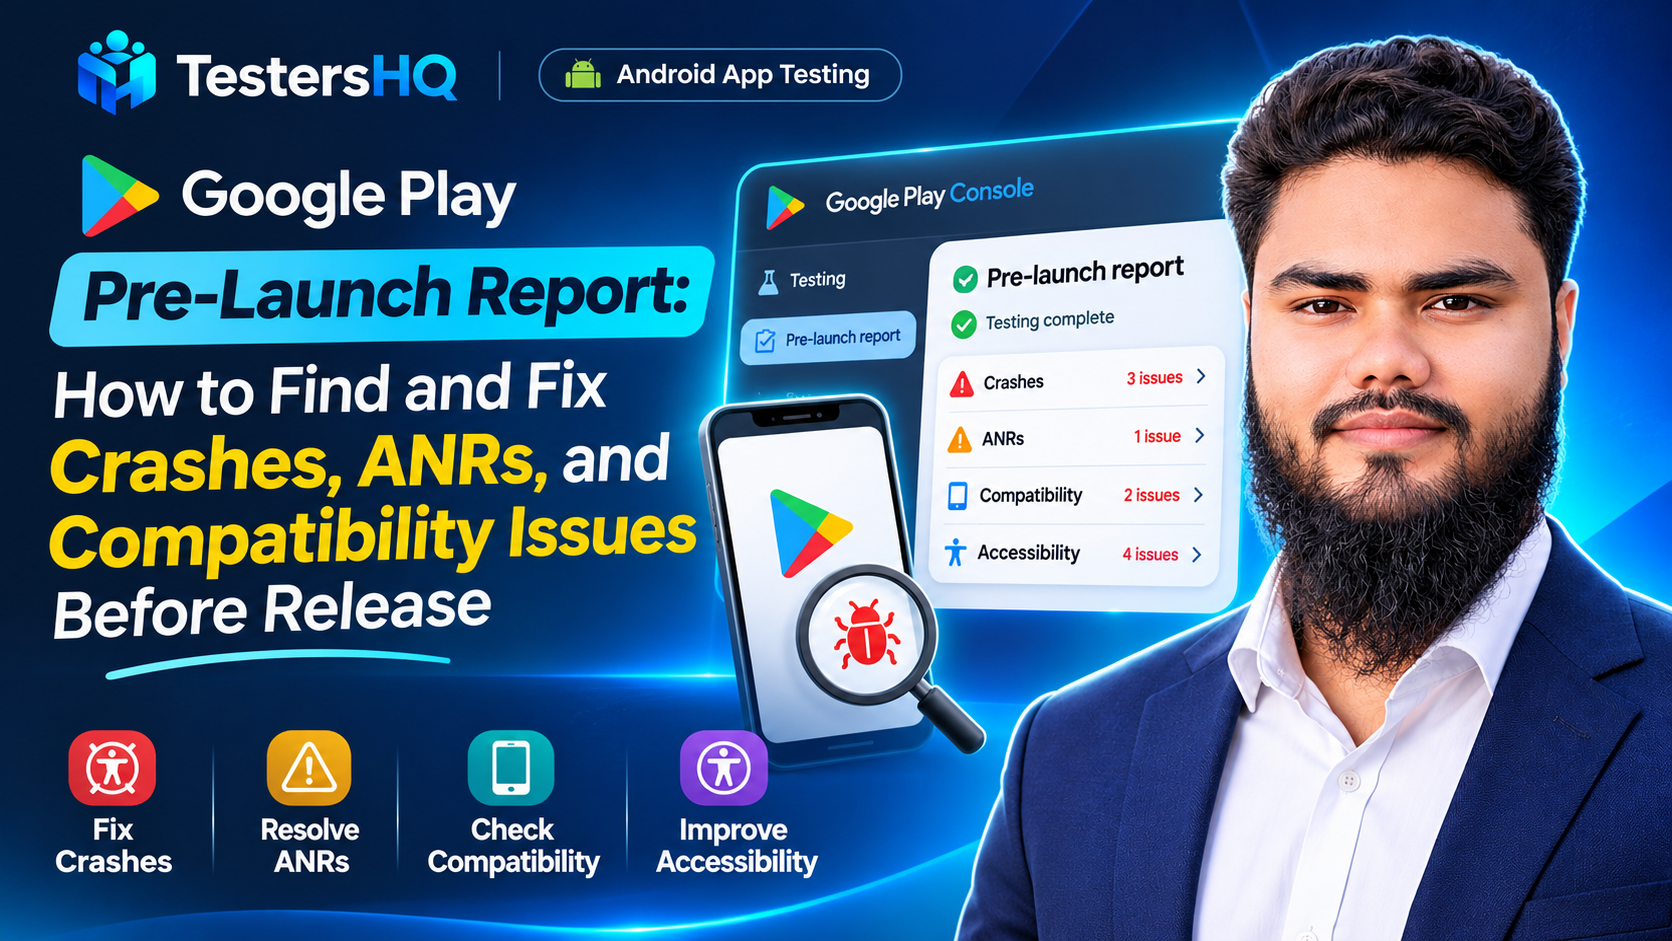
Console labels and report contents change periodically. Where this article and your own Play Console disagree, the Play Console is authoritative.
You upload a build, the release is approved, and the app still crashes on a device you have never held. The Google Play pre-launch report exists to catch that first: it runs your app on real devices in Google's test lab and returns stability, compatibility, performance, and accessibility findings attached to your release.
Most developers open it once, see a wall of stack traces, and close it. This guide explains what each section means, how to read the evidence, and how to prioritise fixes — including the cases where the report cannot test your app at all.
What is the Google Play pre-launch report?
It is an automated test run of your uploaded app on a set of Android devices hosted in Google's test lab. Google installs your build, launches it, and crawls it for several minutes, performing basic interactions such as tapping, typing, and swiping. The results are compiled into a report attached to that release.
It is an early warning system, not a certification. Google states it cannot guarantee the tests will identify all issues. A clean report means the crawler found nothing in the paths it reached — not that the app is defect-free.
When does Google generate a pre-launch report?
Pre-launch reports are generated automatically when you upload an app bundle or APK, and also when you save a release to production, subject to capacity in Google's device lab. Reports may therefore appear at more than one point in a release cycle, and availability is not something you control.
Google documents one exception worth knowing: test devices cannot run apps without a main launch activity — launchers, widgets, keyboards, and watch faces are named explicitly. Custom tests can also be configured: you can supply a Robo script to drive specific journeys, or a game loop, and the crawler runs your scripted actions before exploring normally.
Where to find the report in Google Play Console
- Sign in to Play Console and select the app.
- Go to Test and release > Testing > Pre-launch report.
- Open the Overview tab for the summary, then the Stability, Performance, and Accessibility tabs for detail.
- For settings — credentials, custom tests, and languages — open Pre-launch report > Settings.
Individual crashes and ANRs found during pre-launch testing also appear inside Android vitals under Monitor and improve > Android vitals > Crashes and ANRs. Selecting a cluster there reveals a separate section when the issue was found while generating a pre-launch report, including device information, detailed crash or ANR information, Logcat, and a video.
Understanding errors, warnings, and minor issues
The overview counts unique errors, warnings, and minor issues. The colour coding in the tabs is consistent: red for an error, yellow for a warning, green for no issue found, and blue in the accessibility section when only minor issues were detected.
| Level | Examples Google lists | How to treat it |
|---|---|---|
| Errors | Crashes, ANRs, use of defective libraries, use of restricted unsupported APIs | Fix before release where reproducible |
| Warnings | Slow startup, sign-in or crawl problems, memory issues, unsupported APIs not yet restricted | Investigate; may become errors later |
| Minor issues | Missing content labels, low contrast, small touch targets, layout implementation problems | Batch into accessibility and polish work |
How to read the stability report
Each stability entry shows the issue type and severity icon, how many devices it was detected on, the stack trace, the relevant API where applicable, and how many times it occurred. Selecting Show more adds device name, screen size, Android version, RAM, ABI, and locale.
Prioritise by combination, not count alone: an error on three devices appearing eighty times in a core flow outranks a single occurrence on an obscure model. Frequency, device reach, and whether the crash sits in your main journey form the useful ranking.
One reassurance: crashes found while generating a report come from test devices and do not affect your crash statistics. They are evidence for you, not a penalty on your public metrics.
How to investigate Android crashes
- Open the stack trace and identify the top frame in your own package. Frames only from the framework or a third-party library mean the trigger is elsewhere.
- Check the triggering device group. One Android version, ABI, or RAM tier points at an API assumption, a native library gap, or memory pressure.
- Watch the video and screenshot to see what the crawler did immediately before the failure.
- Reproduce locally on a comparable device or emulator. Without reproduction you are guessing at a fix.
- Fix the cause, confirm on the same configuration, and upload a new build so the report regenerates.
There is no universal fix. A null dereference, a missing native library for an ABI, and an out-of-memory kill during image decoding all crash and all need different remedies. Read the trace rather than applying a generic checklist.
Understanding ANR errors and their possible causes
An ANR — "application not responding" — appears when the app stops responding and the system shows the wait-or-close dialog. Google notes that ANRs on devices running Android 10 and below are available only in Play Console.
Common causes, roughly by frequency:
- Blocking main-thread work — disk, network, or heavy parsing during startup or in a tap handler.
- Slow synchronous initialisation in the application object or first activity.
- Lock contention where a background thread holds a lock the UI thread needs.
- Broadcast receivers or services exceeding their allowed time.
ANRs are timing-dependent, so one may never reproduce on fast hardware. Treat that as a real risk rather than a false positive — slow devices and low memory are where users will hit it.
How to read Android compatibility issues
Compatibility findings usually concern interfaces outside the public Android SDK. Google categorises them by severity, with attention in this order: restricted interfaces that will break on some or all versions, unsupported with restriction imminent, and unsupported with restriction not imminent. Within each category, entries are ordered by frequency.
Google's practical advice is to stop using unsupported interfaces entirely rather than wait for a break. If you cannot remove one immediately, start with the restricted group.
Understanding performance results
Performance summaries are reported per device model and can include average frames per second, average CPU usage, average network bytes sent and received, and average memory use. Two caveats matter: average FPS is only available for tests that use a game loop, and test devices running some older Android versions may not generate performance data at all.
Read the trend, not the single number. A CPU spike becomes actionable when you align it with what the crawler was doing at that moment — the report lets you review the action taken around the spike. Treat figures as relative signals for spotting regressions, not as benchmarks comparable across apps.
Fixing accessibility issues
Accessibility results are grouped into content labelling, touch target size, implementation, and low contrast, with screen clusters identifying where each issue appears. Selecting a cluster shows example screenshots with device model, operating system, screen size, density, and language, plus a recommendation.
Three fixes cover most findings: give interactive elements meaningful labels, enlarge touch targets to the recommended size, and raise contrast on text and icons. Automated checks catch structural problems, but they cannot judge whether a label actually describes the action. Android's accessibility guidance recommends combining analysis tools with manual testing using TalkBack or Switch Access and, ideally, feedback from people who rely on them.
How to use device details, screenshots, videos, and stack traces
Every piece of evidence answers a different question. Use them together rather than relying on the stack trace alone.
- Device details — screen size, density, Android version, RAM, ABI, locale: tells you which configuration to reproduce on.
- Screenshot — shows the visual state at failure, useful for layout and contrast problems.
- Video — shows the sequence of actions leading to the problem; for Robo tests it marks the touch points.
- Stack trace — identifies the code path, and can be downloaded for offline analysis.
- Demo loop output — available for game loop tests, where relevant.
Google notes that the availability of these details can vary between issues, so an entry without a video is normal rather than broken.
How to configure test account credentials safely
If your app has a sign-in screen, the crawler cannot explore beyond it without credentials. Google provides a credentials field on the pre-launch report settings page, with explicit guidance on how to use it.
- Create a dedicated test account — not personal, and not a production administrator.
- Grant only what the crawler needs to reach the screens you want tested.
- Never paste real customer or staff credentials.
- Rotate the password afterwards if the account has any access beyond test data.
- Expect limited automation: credentials can only be inserted for apps using standard Android widgets, and cannot be used with apps rendering custom controls through OpenGL or using WebView-based authentication.
- Sign in with Google is handled separately — Google logs in automatically if your app supports it.
What to do when a pre-launch report cannot fully test your app
Some apps are hard or impossible to crawl: those without a supported main launch activity, those behind custom-rendered or WebView authentication, and those whose value sits behind flows a random crawler will not discover. A thin report is a coverage problem, not a clean bill of health.
Options, in order of effort: add a Robo script that drives your key journeys, provide working test credentials for a standard widget-based sign-in, and pair the automated run with structured manual testing. Google documents the first two; the third is judgement, not policy.
Google Play pre-launch report vs. manual real-device testing
They answer different questions, and neither replaces the other.
| Aspect | Pre-launch report | Manual device testing |
|---|---|---|
| Who drives | An automated crawler, optionally guided by a Robo script | A person following real tasks |
| Finds well | Crashes, ANRs, API problems, performance signals, structural accessibility defects | Confusing flows, wrong copy, missing states, real-network behaviour, subjective usability |
| Misses | Anything behind custom auth, long sessions, or multi-step business logic | Volume, repeatability, and device breadth |
| Cost of running | Automatic on upload, subject to capacity | Human time plus device access |
A report that shows no stability errors proves only that the crawler did not crash. It says nothing about whether a first-time user understands your onboarding. For device and workflow coverage, see real device testing across different devices.
When should you consider Firebase Test Lab?
Firebase Test Lab is a separate cloud service that runs your tests on physical and virtual devices you select, using a matrix of device models, Android versions, orientations, and locales. It supports instrumentation tests, Robo tests, and game loops, returning logs, screenshots, videos, and performance metrics on supported physical devices.
Reach for it when you need a device or API level the pre-launch report did not cover, when you want a repeatable journey across many configurations, or when you want automated runs in CI. Stay with the pre-launch report for the automatic check tied to a Play release. Neither substitutes for evaluating real user experience.
Step-by-step pre-release troubleshooting checklist
- Open the report after every upload. Check overview counts, then the tabs.
- Confirm the crawler reached your app. A report with crawl or sign-in warnings has limited coverage.
- Add test credentials through a dedicated account if sign-in blocked the crawl.
- Add a Robo script for journeys a random crawl cannot discover.
- Triage errors by frequency, device reach, and flow criticality.
- Fix restricted API usage first, since those break on specific versions.
- Reproduce each crash and ANR on a comparable configuration before changing code.
- Batch accessibility findings into one pass of labelling, target size, and contrast fixes.
- Compare performance across builds to catch regressions rather than chasing absolute numbers.
- Upload a new build and confirm the fix in the regenerated report.
- Run manual device testing on flows automation cannot reach.
The 14-day closed testing checklist covers the tester-facing side once the build reaches real people.
Frequently asked questions
Does a clean pre-launch report guarantee a problem-free app?
No. Google states it cannot guarantee the tests identify all issues, and the crawler only exercises the paths it reaches.
Do pre-launch crashes affect my app's crash rate?
No. Crashes found while generating a report come from test devices and do not affect your crash statistics.
Why does my report show so few screens or no video?
Coverage depends on what the crawler could reach. Sign-in without credentials, custom-rendered controls, and WebView authentication limit exploration. Some detail availability also varies.
Can I use my own account credentials to test sign-in?
Use a dedicated test account, never a personal or production administrator account. Google also warns that credentials only work automatically with standard Android widgets.
What is the difference between an error and a warning here?
Errors include crashes, ANRs, defective libraries, and restricted APIs. Warnings include slow startup, sign-in or crawl issues, memory problems, and APIs not yet restricted.
How long does a pre-launch report take?
It depends on lab capacity and configuration; Google publishes no fixed duration and generates reports automatically rather than on demand.
Does the report replace Firebase Test Lab?
No. The report is automatic and tied to a Play release; Test Lab runs the tests you choose across a device matrix.
Will fixing these issues get my app approved on Google Play?
No. The report is a quality aid. Policy review and production access are separate, and no report guarantees either.
Official Google resources
Factual statements here come from these pages. Where a page disagrees, the official page wins.
- Use a pre-launch report to identify issues — generation, crawling, custom tests, credentials
- Understand your pre-launch report — severity levels, stability, performance, accessibility detail
- View crashes and ANRs — Android vitals clusters and the pre-launch section inside them
- Test your app's accessibility — manual, tool-based, and automated approaches
- Core app quality guidelines — the baseline quality expectations behind many findings
Conclusion: use the report as a starting point, not a finish line
The pre-launch report is most valuable as a pointer: it tells you which configuration to reproduce on, which API is about to break, and which accessibility defects are structural. It cannot tell you whether your onboarding makes sense, and it cannot crawl past authentication it was never given.
Read the evidence, reproduce the failure, fix the cause, upload again, and close the gap with real people on real devices. When tester engagement matters as much as stability, see improving tester engagement in closed testing.
If you need additional manual testing, real-device coverage, or structured testing feedback, explore TestersHQ. We do not guarantee Play approval, production access, or a clean report.